
I was floored to see that Willow Bird Baking is a finalist for SAVEUR Magazine’s Best Baking & Desserts Blog. Thank you so much for making this happen. If you’d like to vote for Willow Bird Baking, you can do so here. You all are truly wonderful.
I could feel his eyes on me from the table to my right. He obviously wanted to strike up a conversation. Being an introvert by nature, I nursed a healthy flurry of paperwork all around me and kept my eyes on my computer screen. My work was a comforting wall between me and his social overtures.
However, I quickly realized as he walked over that he was unfazed by walls. He sat down on the couch next to me in the bustling coffee shop. I slurped my soda noisily as a last-ditch effort to appear busy. He set down his carton of milk and walked over to stand next to my seat. He peered at my computer screen.
“Um, hi,” I said, obviously unable to avoid a conversation any longer.
“Hi. What’s your name?” He replied.
“Julie. What’s yours?”
“Brian.”

“How old are you, Brian?”
He danced a little and held up 4 pudgy fingers. “Almost 4. My birfday’s in a coupla weeks.” I smiled. His cute delivery and guileless demeanor warmed me up to the idea of a conversation. I was starting to feel glad that he’d walked over after all.
I pointed to my computer screen. “See this cake? It’s a pumpkin cake. Do you like pumpkin?” (He does not.) “Are you going to have a pretty cake like this at your birthday?” (He is.) “What else are you going to do for your birthday?”
My own birthday, incidentally, is coming up in just a week, but trust me: compared to the monologue Brian launched into about his upcoming birthday party, my birthday will be tame. Just to give you an idea, he mentioned something about a castle and a road trip with his Me-Me and Paw-Paw for his birthday. I asked Mike for a car wash (with wax, please) for mine.
But really, Brian wasn’t just enthusiastic about a party. Indeed, he went on to tell me about his mom, his dad and Paw-Paw who were both “at deir jobs,” and his own job, by which I finally figured out he meant preschool. He noticed my marker and excitedly related that he loved markers, too! He drained his milk as we talked, and inched over repeatedly to eye this pumpkin cake with great interest. He was enthusiastic about life.

Looking around with my Brian lens on, I realized how wonderful it was to have spent the morning eating a bowl of fresh greens with a big scoop of tuna salad on top. How privileged I was to be sipping a soda and working on my new laptop (I named it Esmerelda — Zelda for short — and I’m ecstatic about it.) How blessed I am that my parents are taking me out for brisket next week (when they ask if I want fatty or lean, I’m saying fatty.) How amazing it is that I am dating the man of my dreams after having been separated from him for way too long. How delicious buttered toast is!
I’m with Brian, man. Life is pretty great!
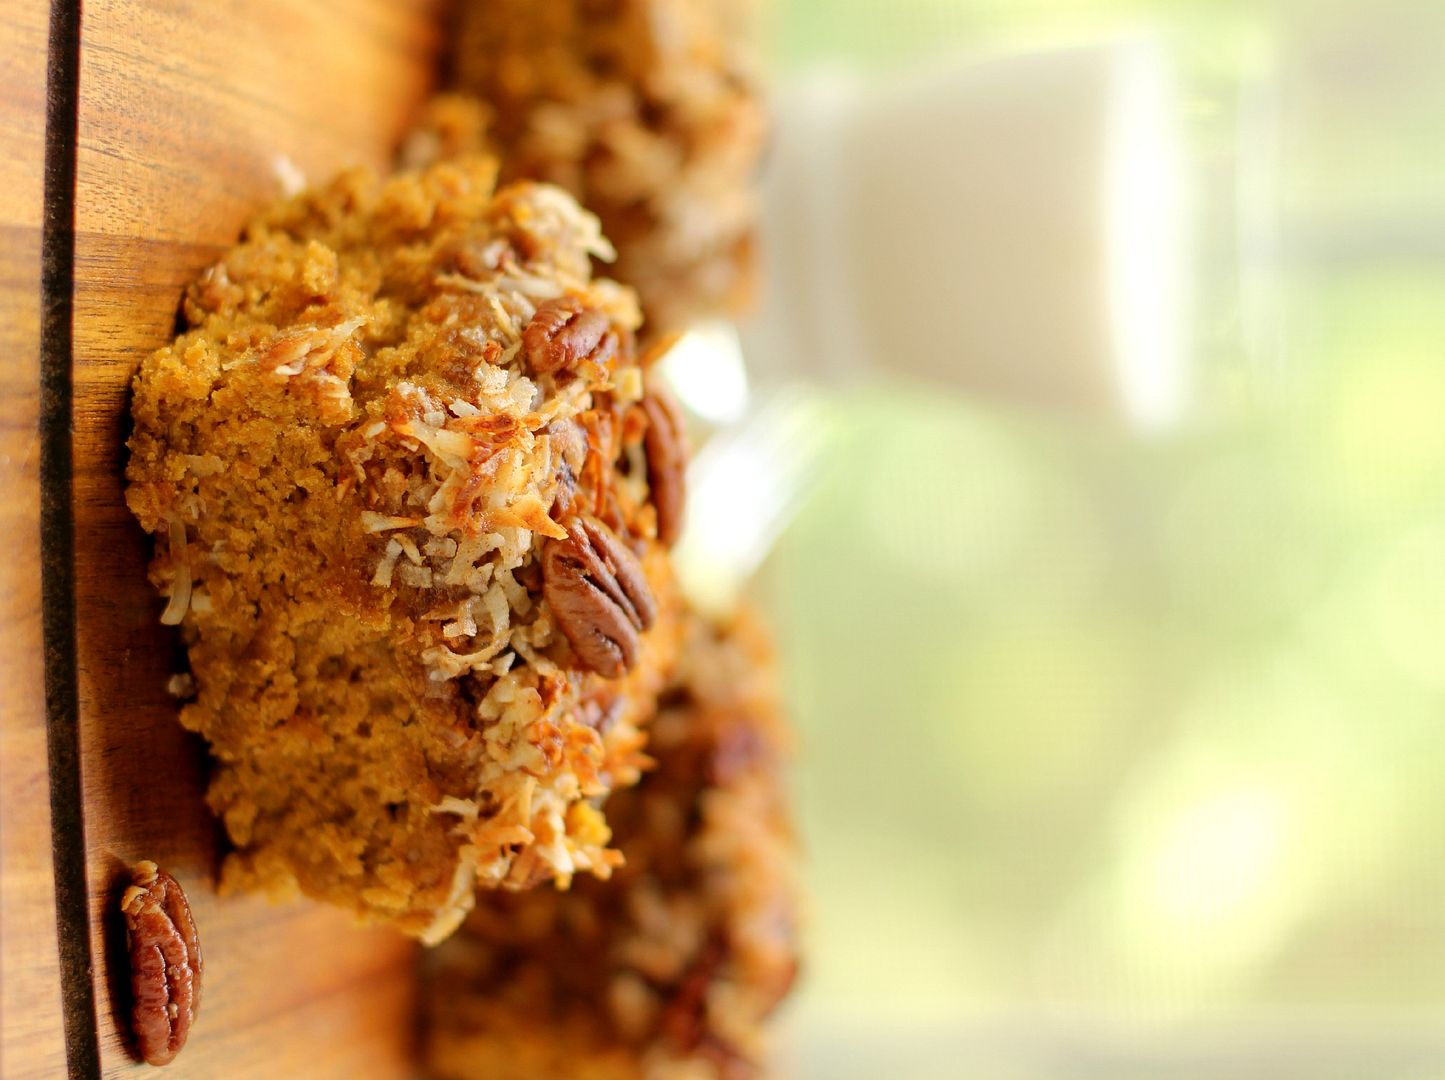
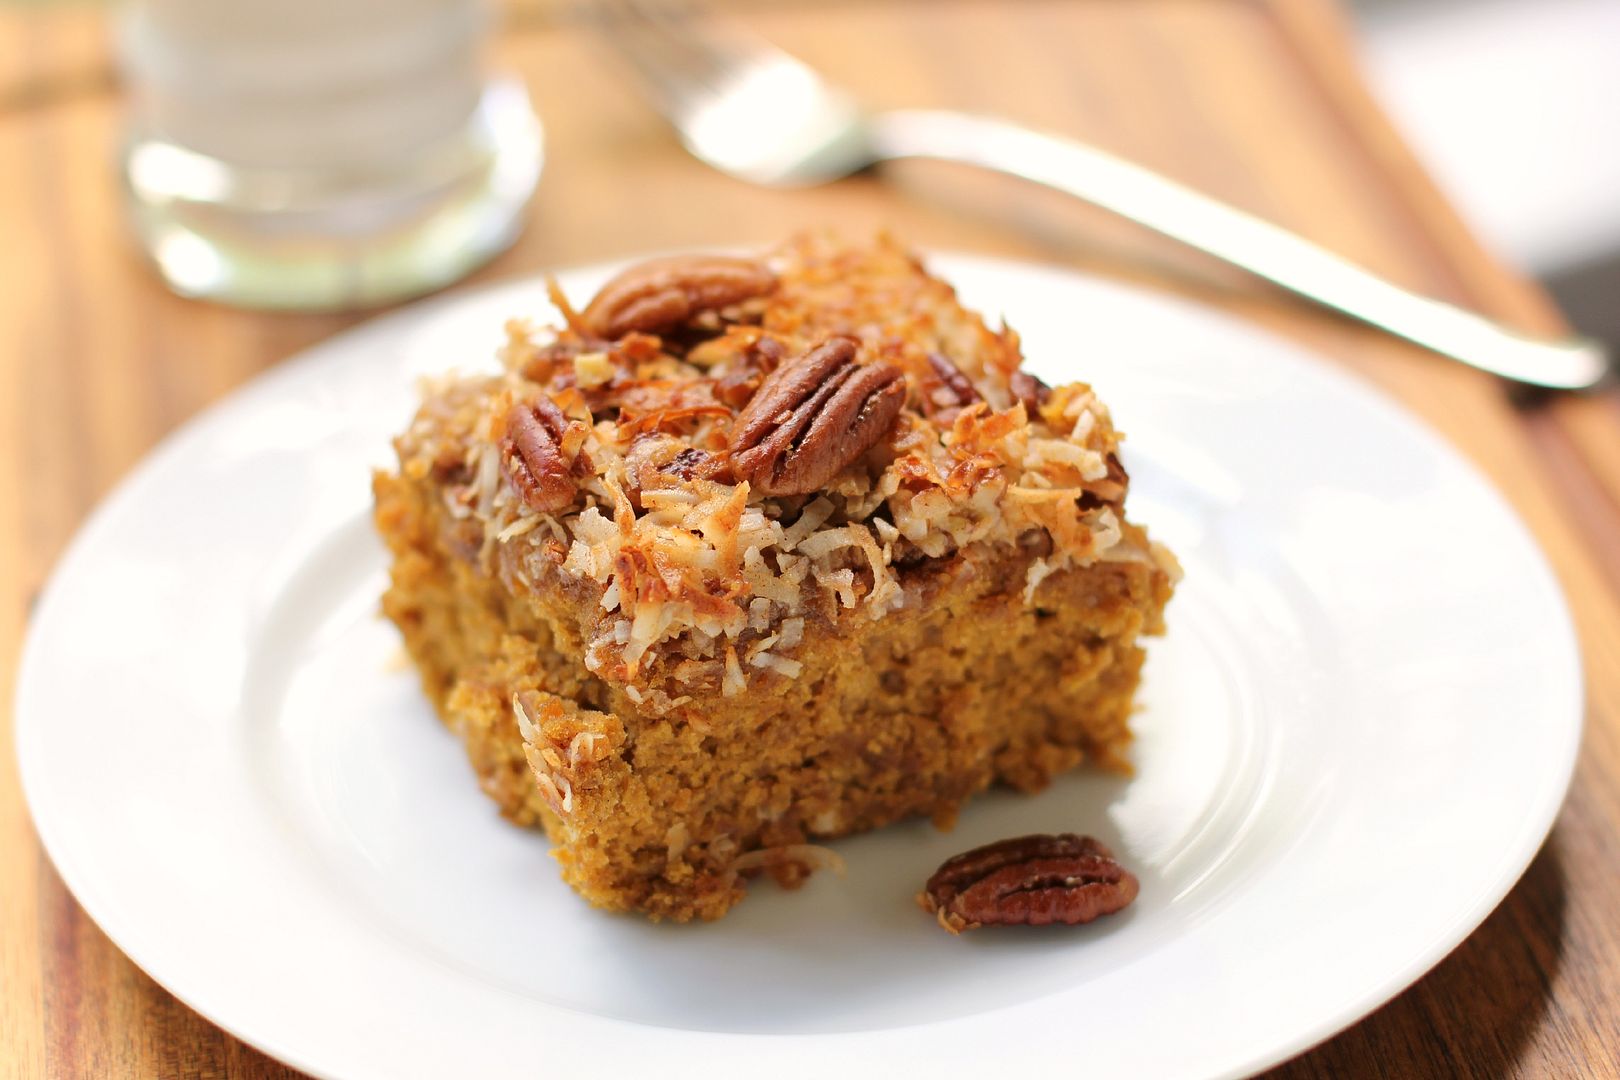
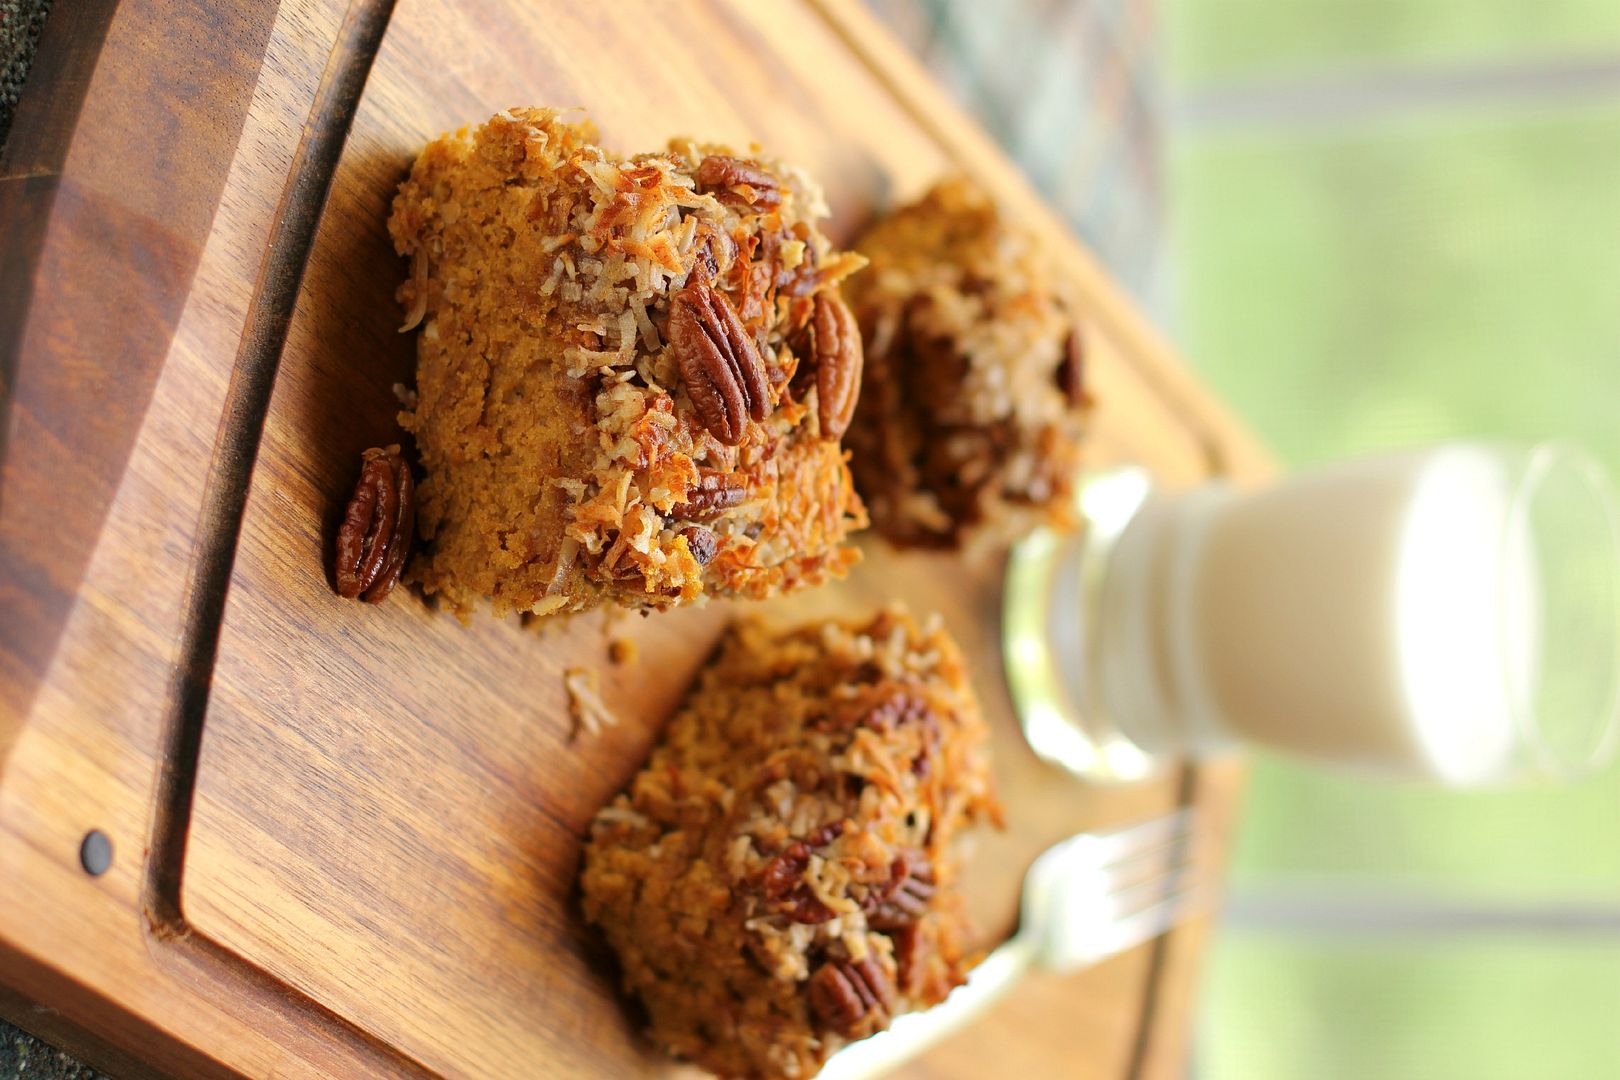
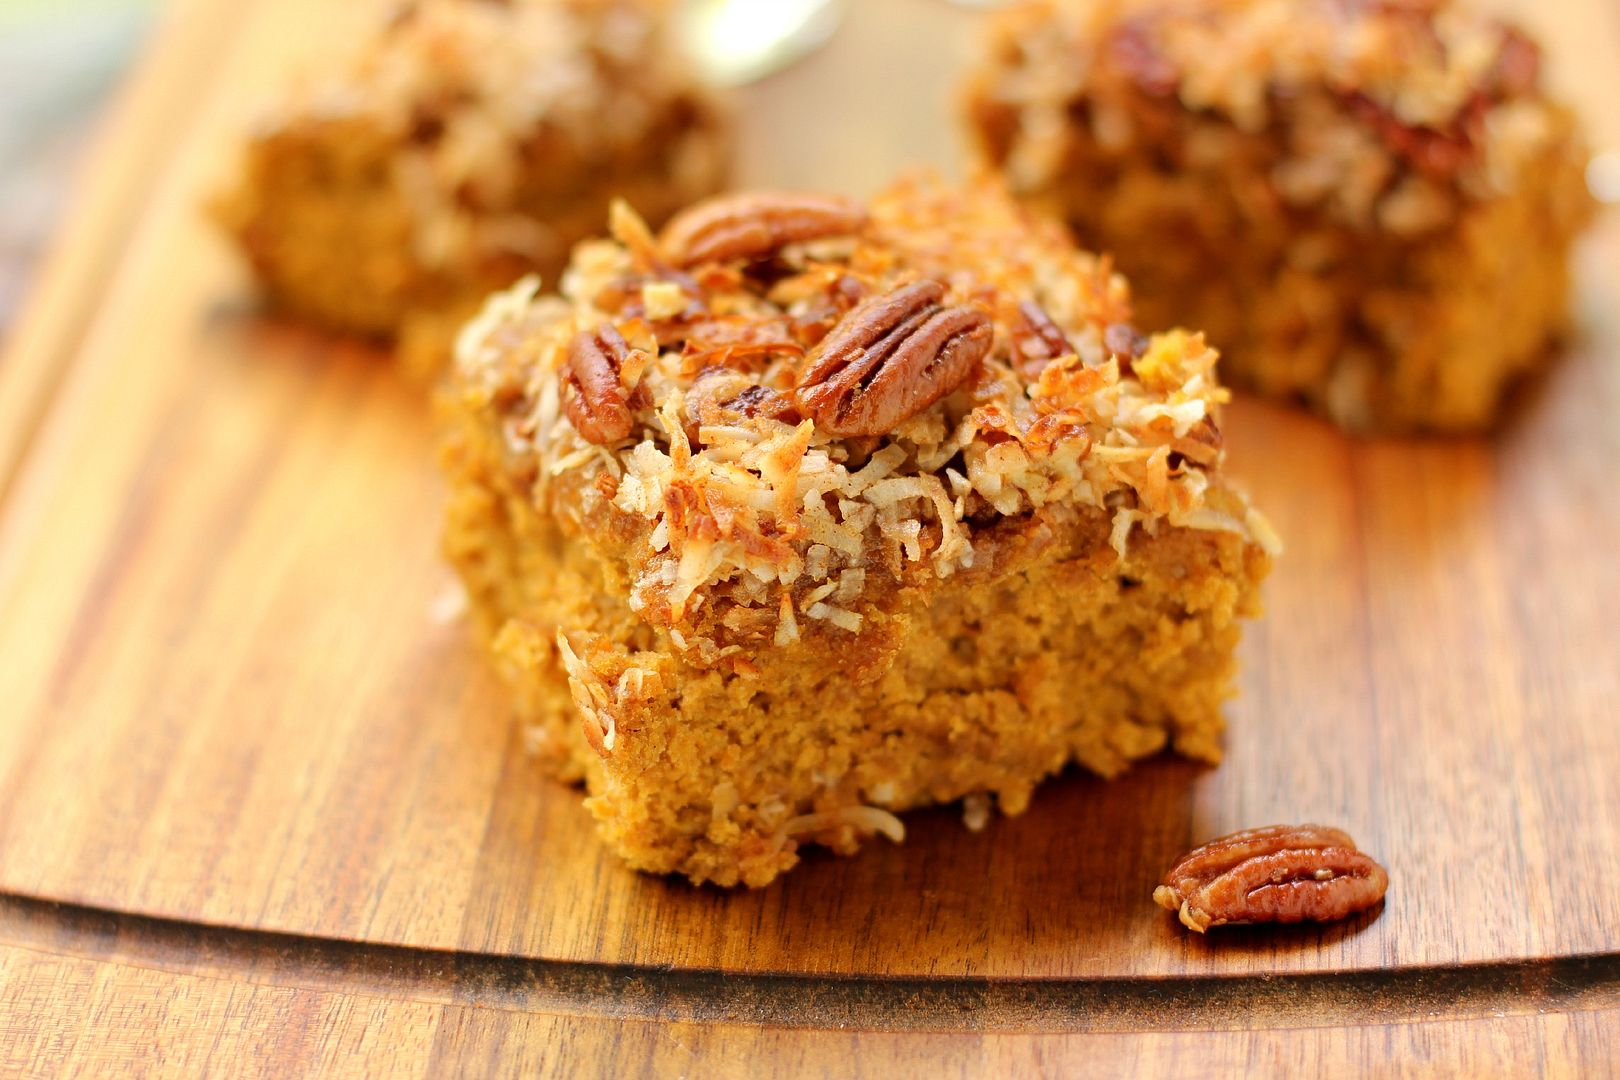
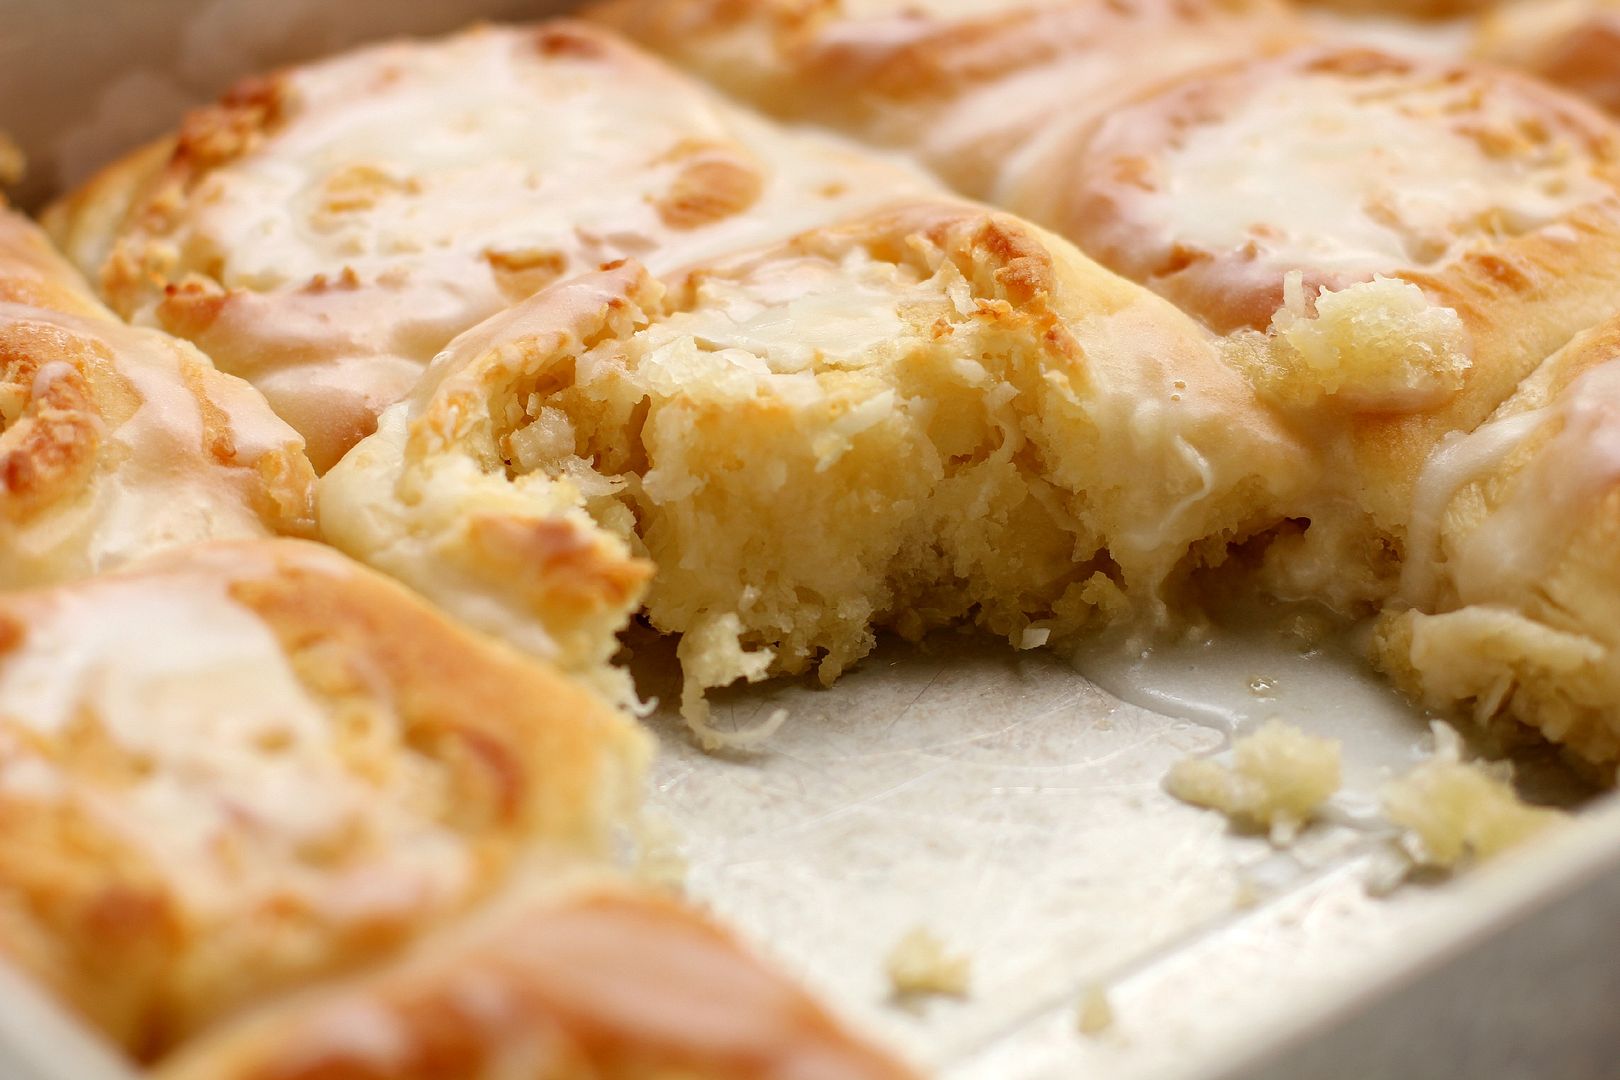
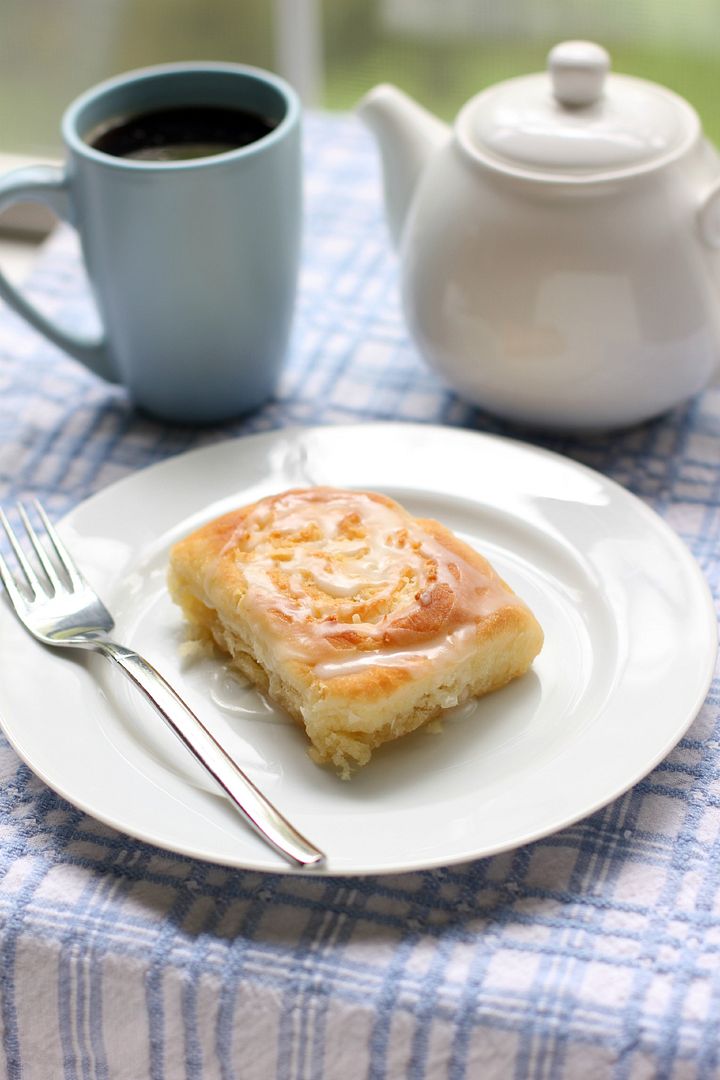
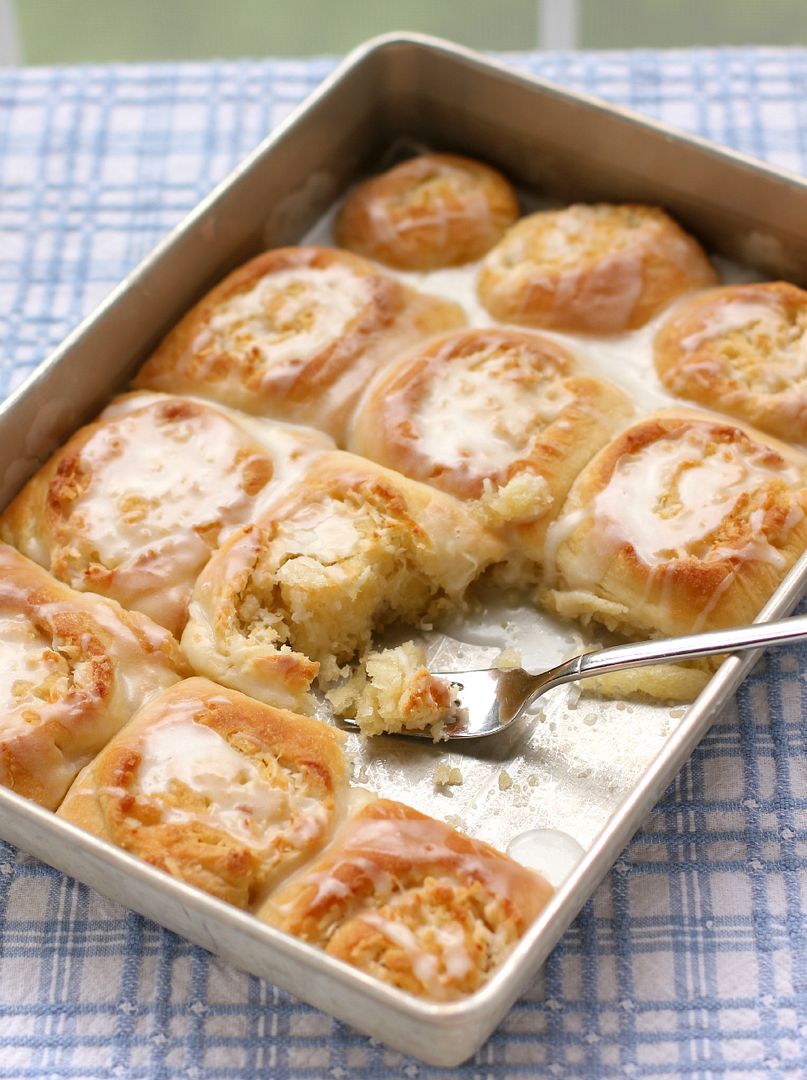
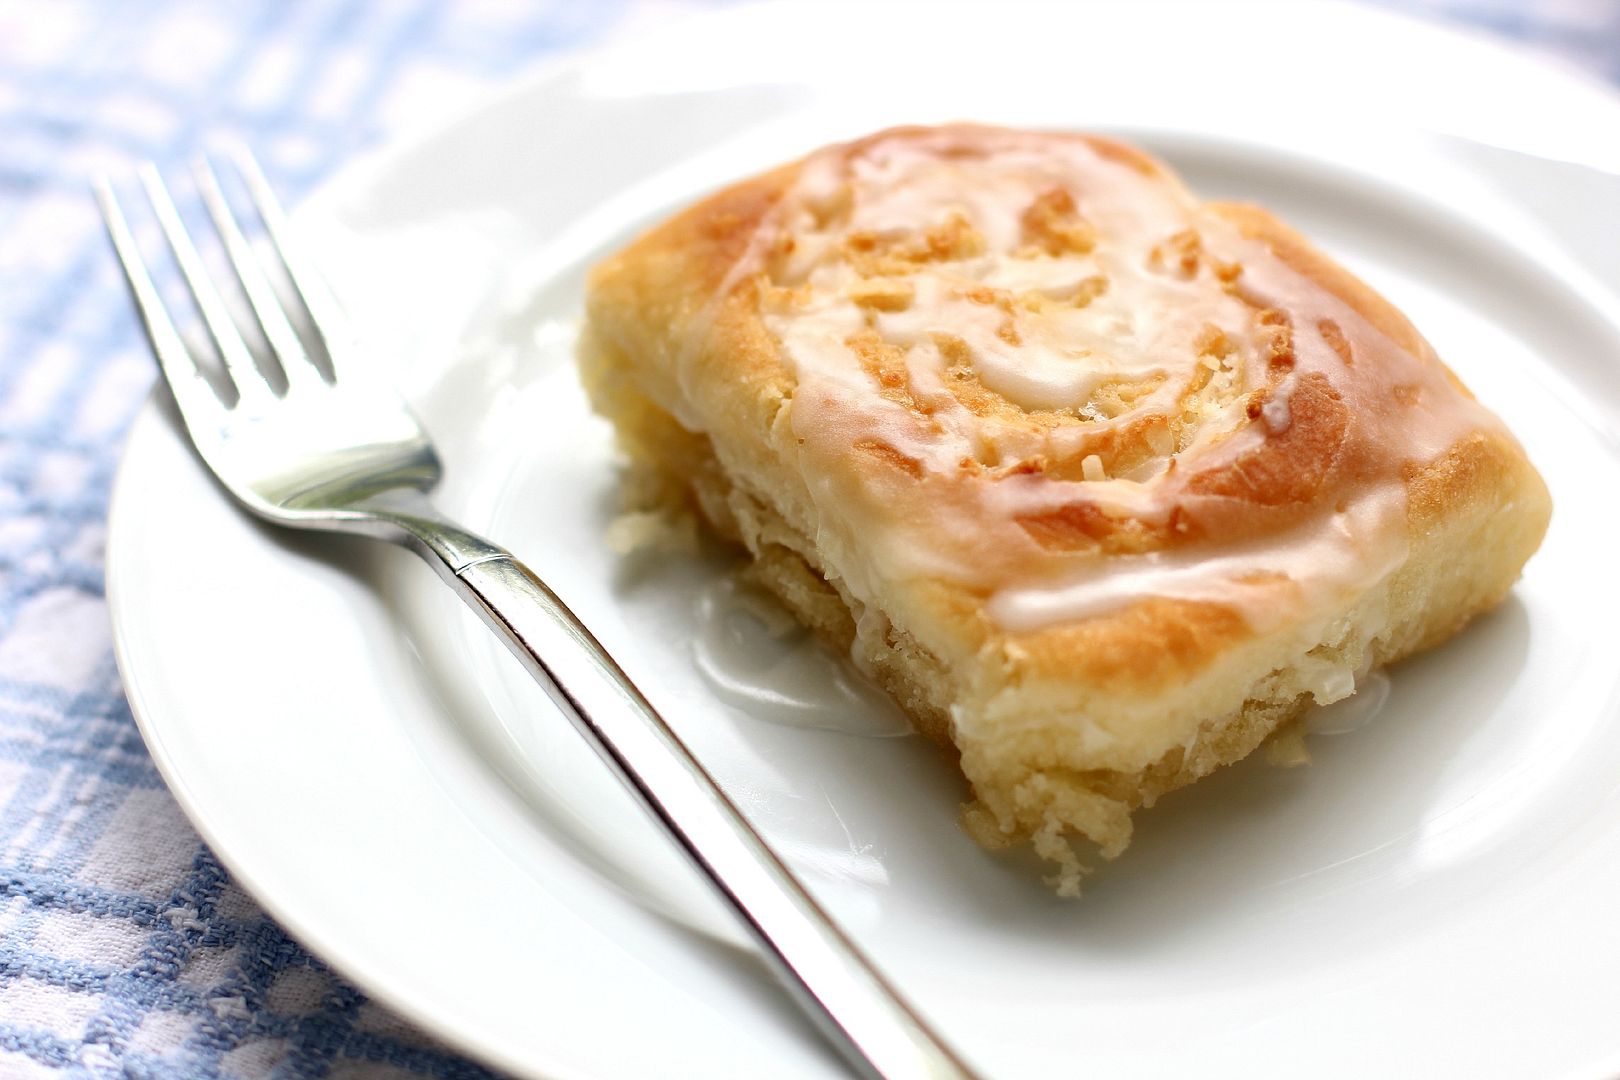
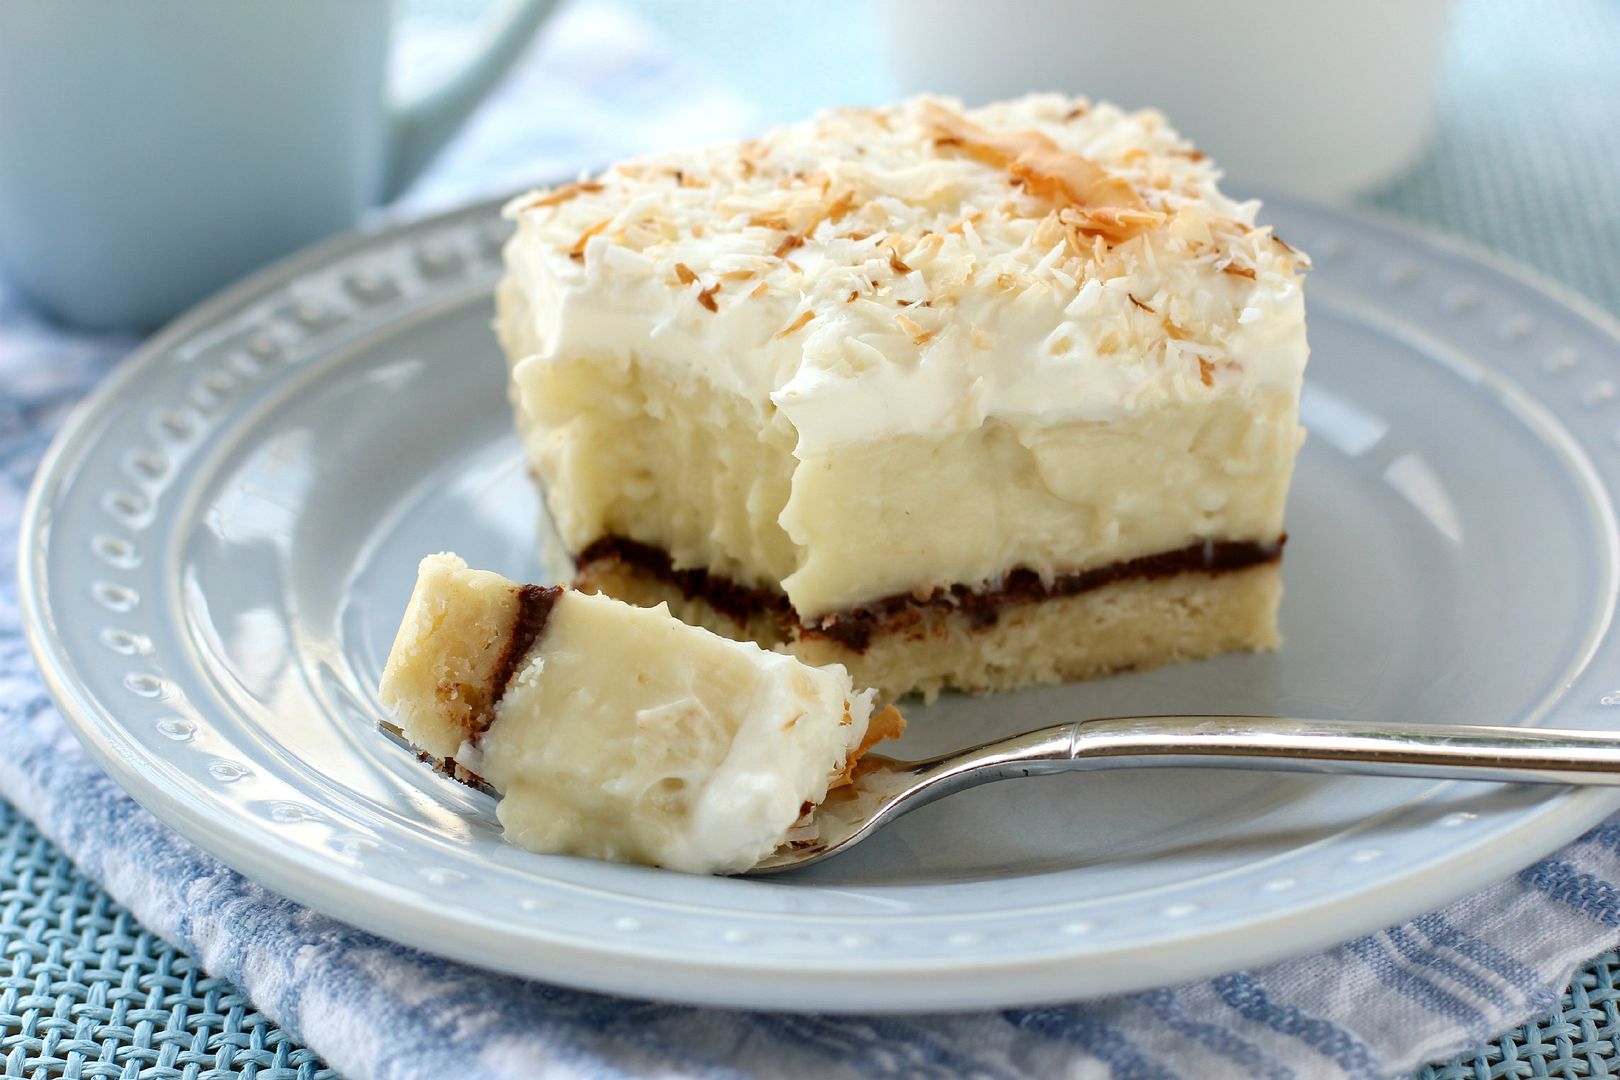
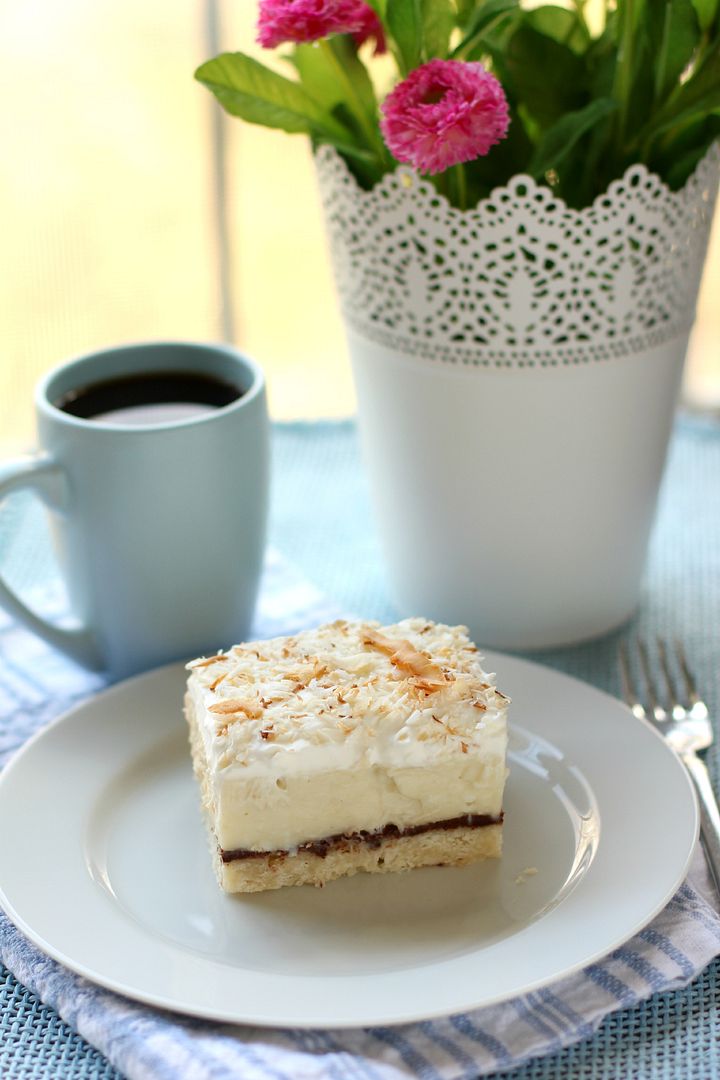
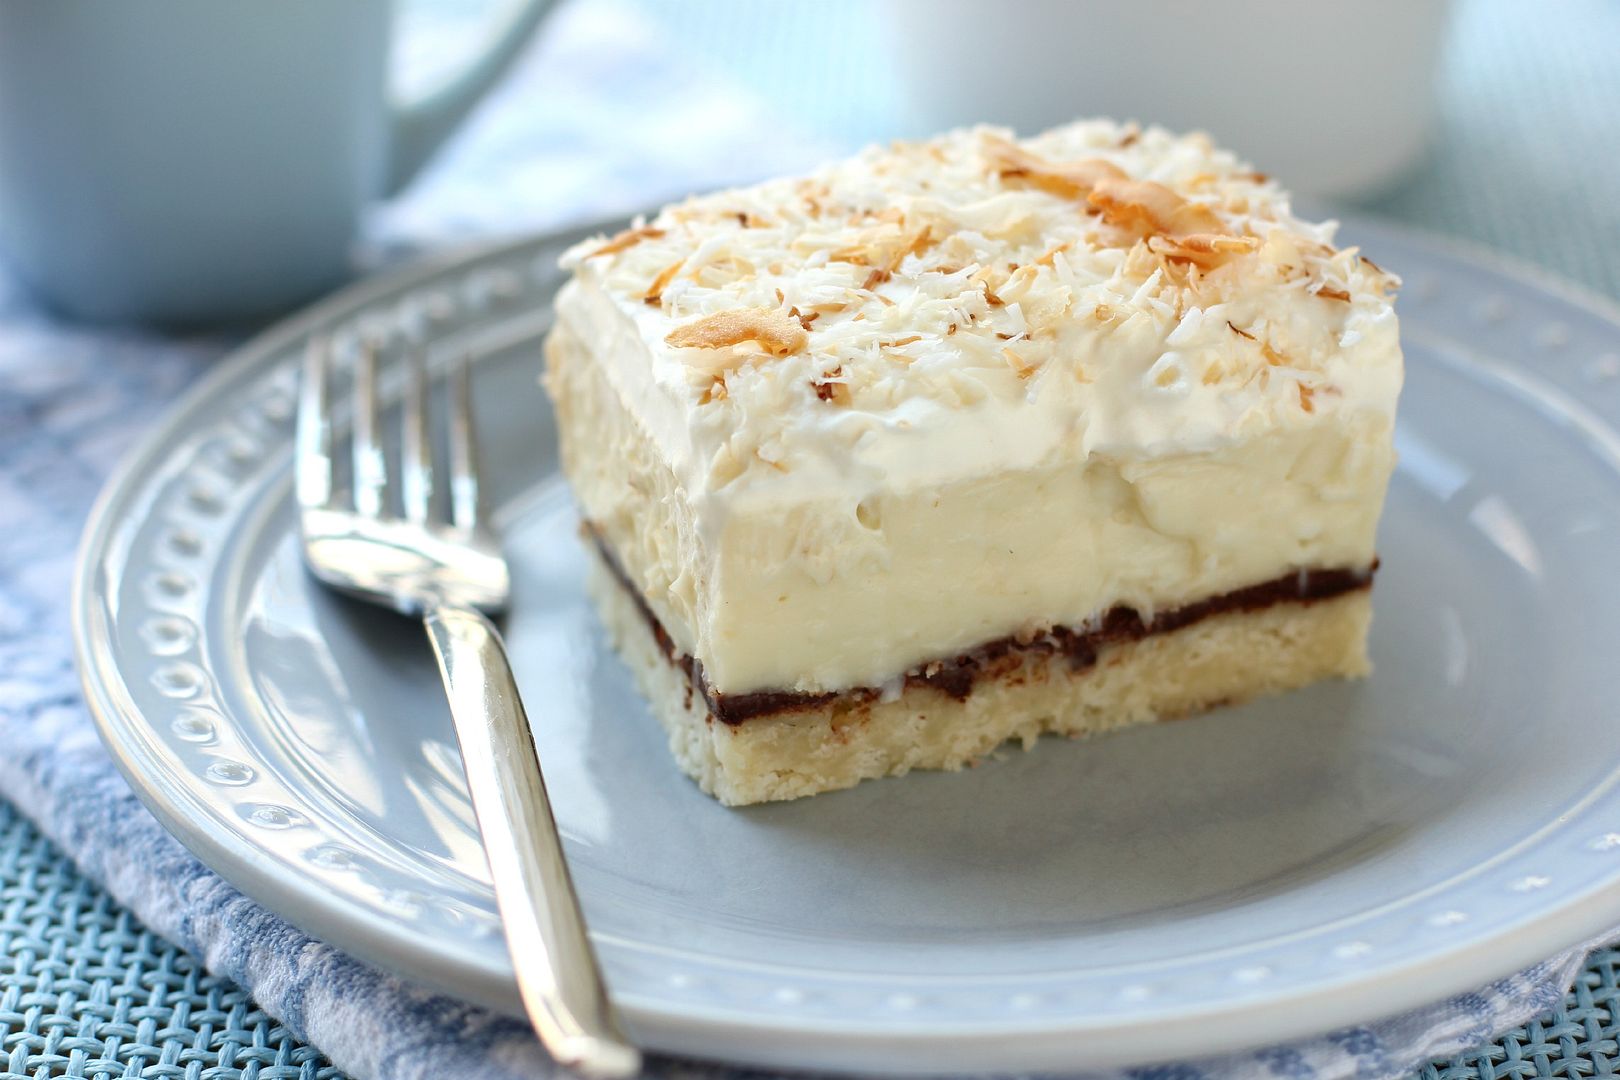
This Pumpkin Oat Snack Cake is just another great thing in an otherwise great life. It’s quick and simple to whip up, just as a snack cake should be, but it’s also birthday-bouncy-house delicious: moist, tender, and sporting a crispy toasted topping. And since we’re calling it a snack cake, you can slice yourself off a piece any old time. Right?
What are some little things in life you’ve been appreciating lately?

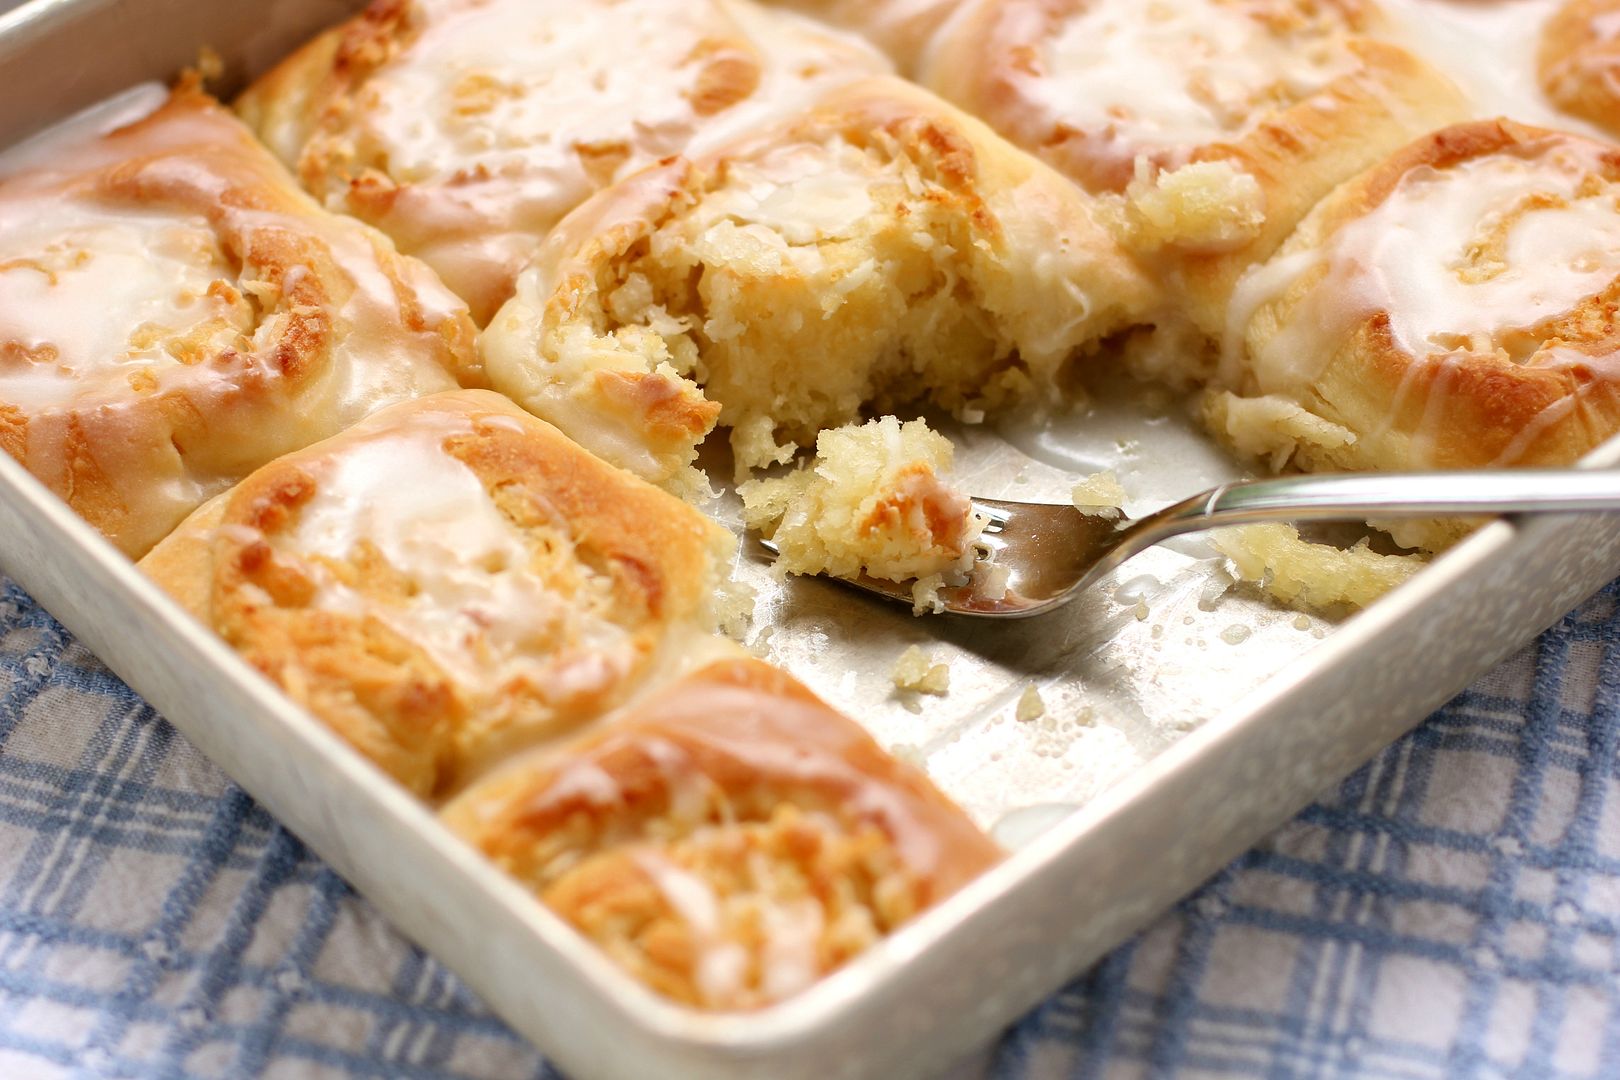
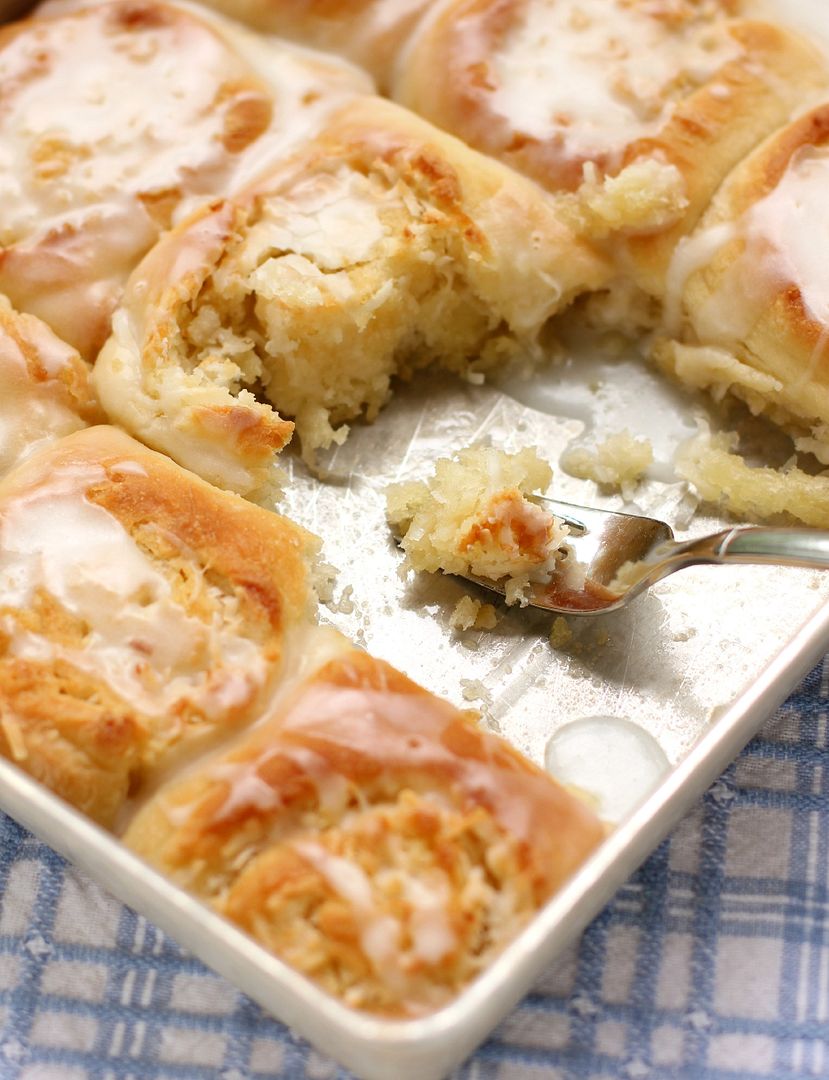
Pumpkin Oat Snack Cake with Broiled Coconut Icing
Recipe by: Adapted from America’s Test Kitchen’s Oatmeal Snack Cake with Broiled Icing
Yield: 9 servings
This little snack cake whips up in a jiffy and boasts so much bang for its buck! It’s a delicious pumpkin-oat spice cake with a toasty coconut and pecan broiled topping.
Cake Ingredients:
1 cup (3 ounces) quick-cooking oats*
3/4 cup water, room temperature
3/4 cup (3 3/4 ounces) unbleached all-purpose flour
1/2 teaspoon baking soda
1/2 teaspoon baking powder
1/2 teaspoon salt
1 teaspoon ground cinnamon
1/2 teaspoon ground nutmeg
1/2 cup pumpkin
4 tablespoons (1/2 stick) unsalted butter, softened
1/2 cup (3 1/2 ounces) granulated sugar
1/2 cup packed (3 1/2 ounces) dark brown sugar
1 large egg, room temperature
1/2 teaspoon vanilla extract
Broiled Icing Ingredients:
1/4 cup packed (1 3/4 ounces) dark brown sugar
1/2 teaspoon cinnamon
3 tablespoons unsalted butter, melted and cooled
3 tablespoons milk
3/4 cup sweetened shredded coconut
1/2 cup (2 1/2 ounces) pecans, chopped
Directions:
Make the cake: Preheat oven to 350 degrees. Create a foil sling for an 8-inch square pan: cut two 16-inch lengths of foil and fold them to widths of 5 inches each. Fit foil pieces into baking dish, one overlapping the other, pushing them into corners and up sides of pan; allow excess to overhang pan edges. Cut two more pieces of the same size and arrange them in the same way, except perpendicular to the first two. This creates a sling that will help you remove the cake after baking and cooling. Spray foil lightly with nonstick cooking spray.
Combine the oats, pumpkin puree, and water in medium bowl and let sit until water is absorbed, about 5 minutes. In another medium bowl, whisk the flour, baking soda, baking powder, salt, cinnamon, and nutmeg together.
In a separate large bowl, cream together the butter and sugars for a few minutes until the mixture resembles damp sand (scraping down the bowl as needed). Add the egg and vanilla and mix until combined. Add the flour mixture in 2 batches, mixing until just incorporated after each addition. Add the oat mixture and mix until just combined. Stir the mixture by hand to make sure everything is combined.
Glop the batter into the prepared pan and tap it against the counter a few times to ditch any air bubbles. Smooth the surface with a spatula. Bake the cake, rotating halfway through baking, until a toothpick inserted into center comes out with few moist crumbs attached, about 28 to 32 minutes. Let the cake cool in the pan for about 10 minutes while you mix the icing.
Make the icing: Move the oven rack to around 9 inches away from the broiler heating element and preheat the broiler. In a medium bowl, whisk together the brown sugar, cinnamon, melted butter, and milk. Stir in the coconut and pecans before spreading mixture evenly over the top of the cake. Broil the cake, keeping a close eye on it and rotating as needed, until topping is bubbling and golden, about 3 to 5 minutes. Let the cake cool in pan for 1 hour. Use the sling to pull the cake gently out of the pan. Cut it into squares and transfer to a platter or serving plates; discard the foil.
*ATK’s notes: Do not use old-fashioned or instant oats for this recipe. Be sure to use a metal baking dish; glass pans are not recommended when broiling. A vertical sawing motion with a serrated knife works best for cutting through the crunchy icing and tender crumb.
If you liked this post, please:
–Subscribe to Willow Bird Baking
–Follow Willow Bird Baking on Twitter
–Follow Willow Bird Baking on Facebook
–Give this post a thumbs up on StumbleUpon
–Pin It


